By Rositta Liosi and Joanita Nonwo
Plastic bottles are one of the many items that contribute to the rubbish pollution in Port Moresby and other cities in the country. Drink bottles from popular soft drinks, detergent containers, lotion bottles, peanut butter plastic jars, you name it.
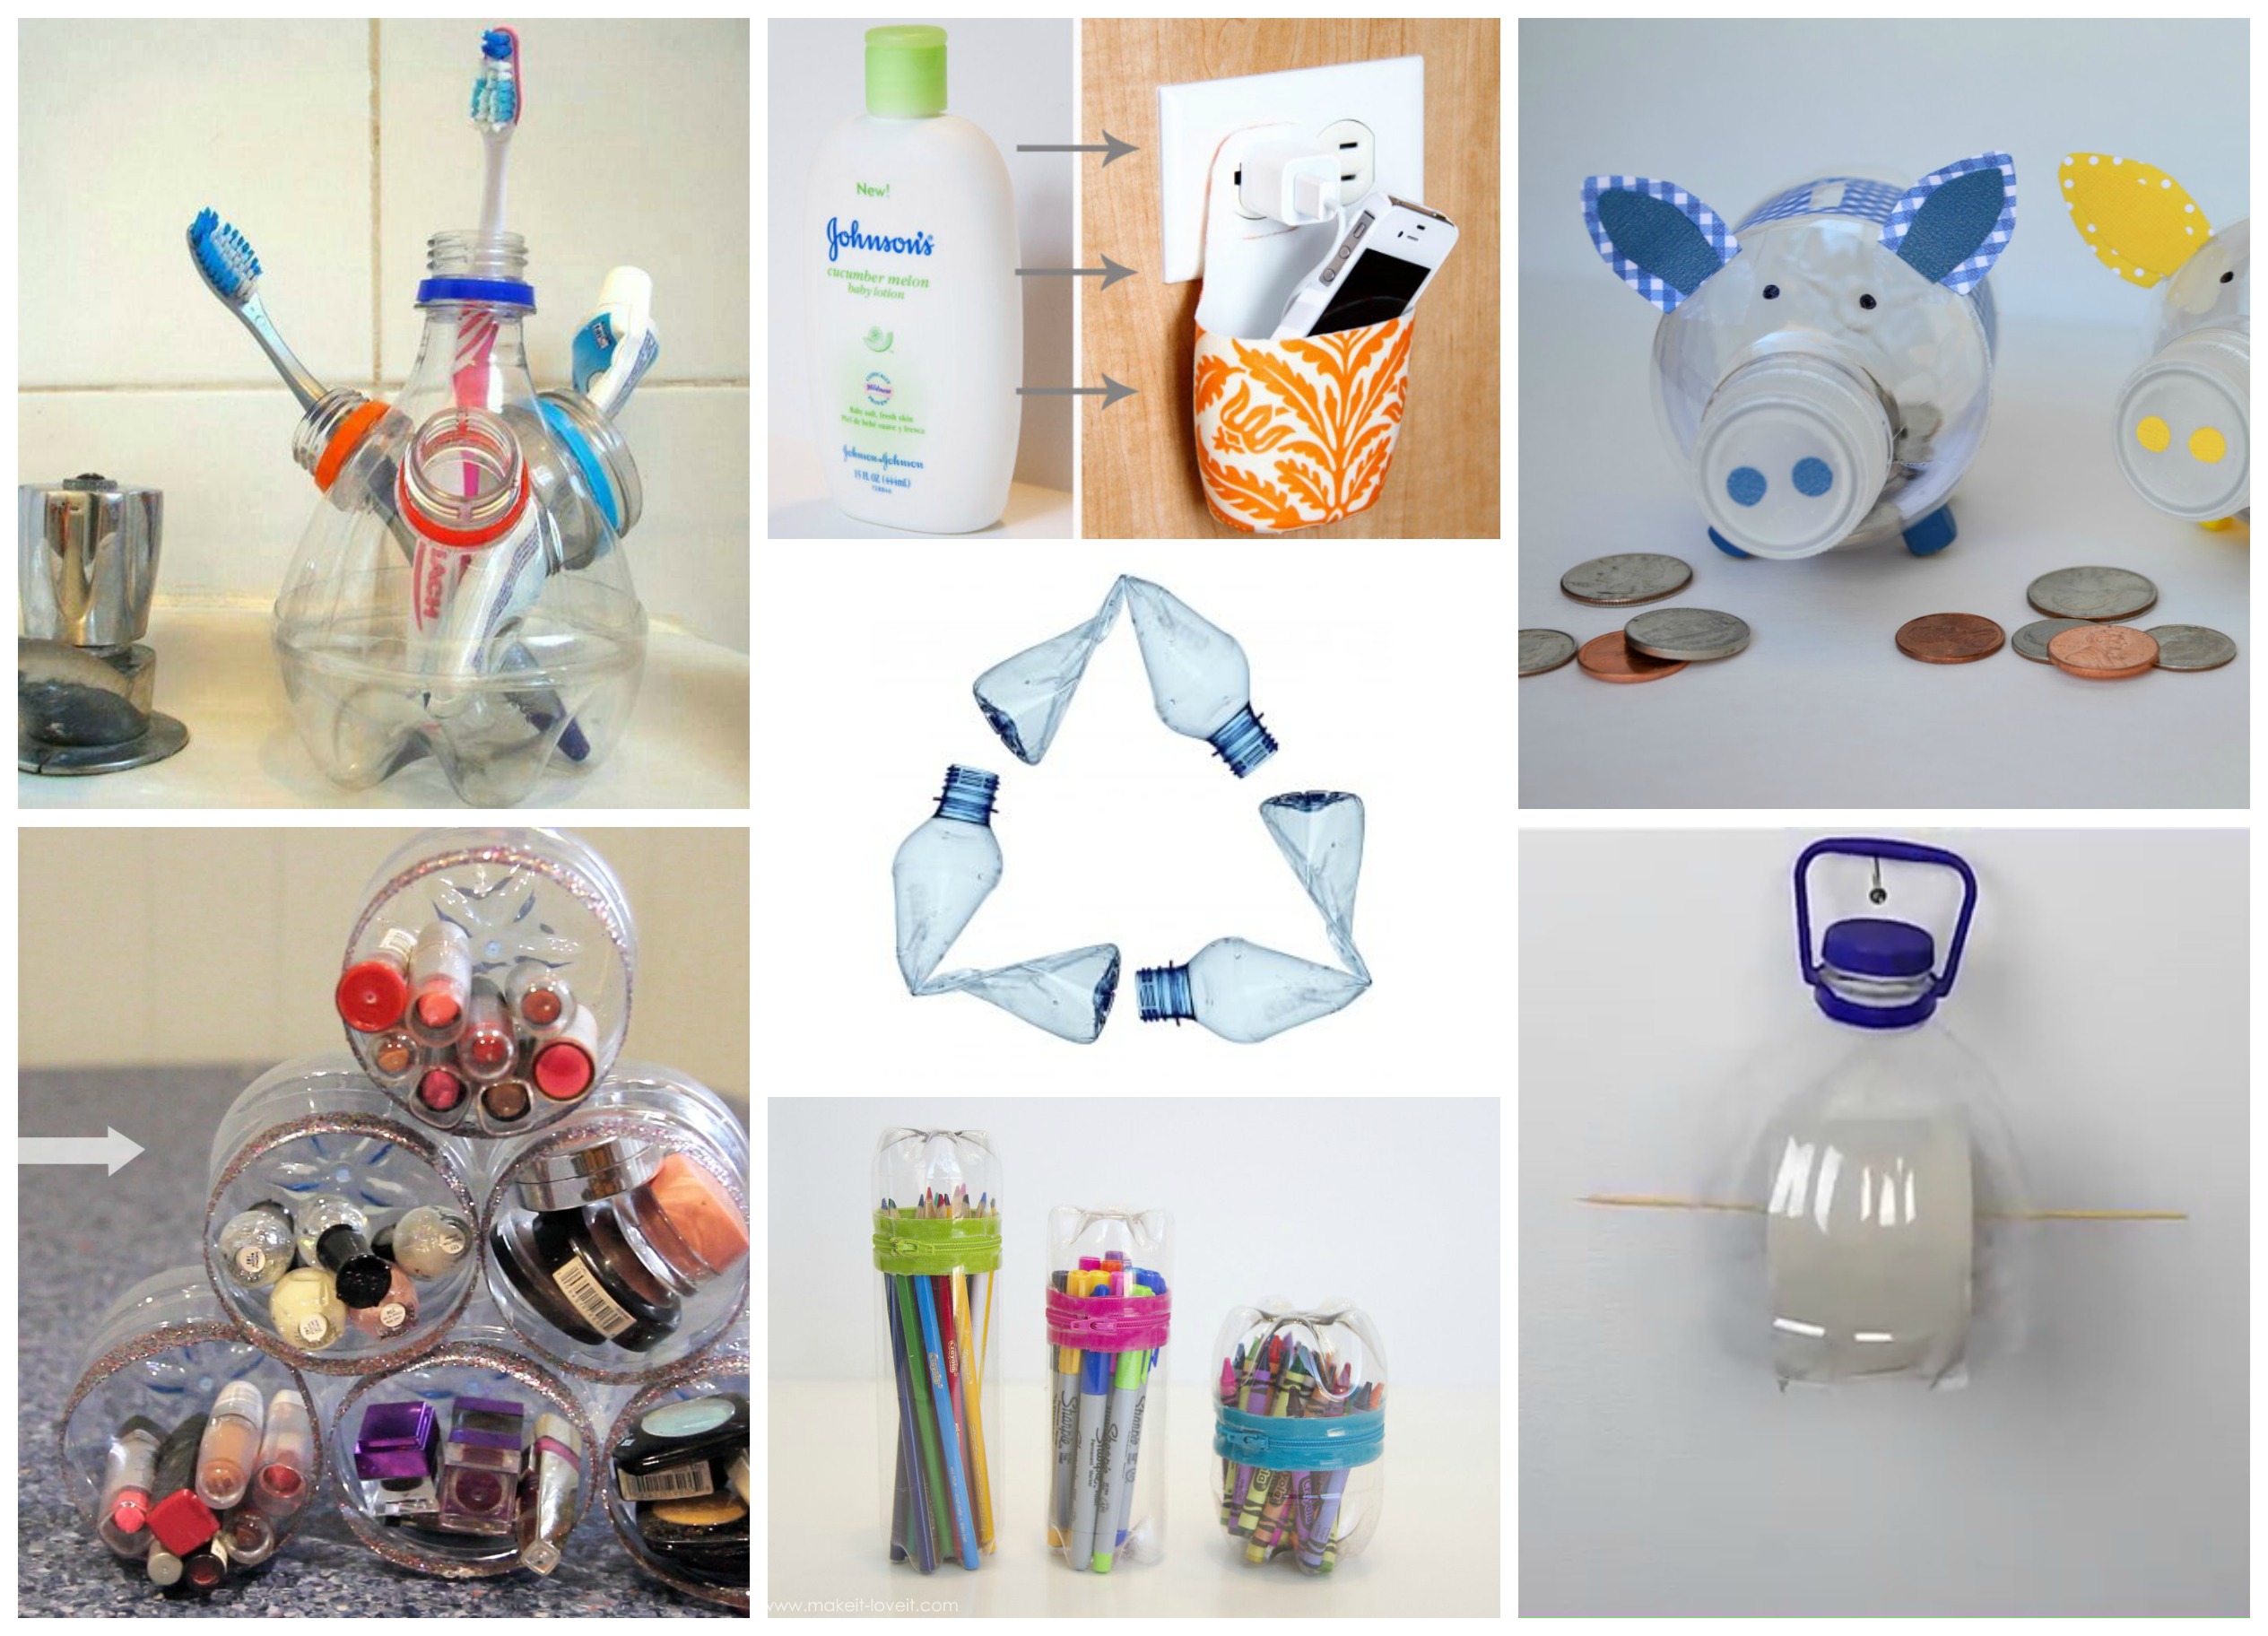
Although it seems to be of no use once the contents have been used or consumed, plastic bottles are however, very useful in a recycled concept through craft!
And what feeling is more satisfying than creating something for yourself and sharing it with your friends and family.
By storing these empty used bottles for your DIY time, you also save the environment from being polluted, as you are building your creative side, you are at the same time being an eco-friendly citizen of the world!
10 Creative useful plastic container inventions
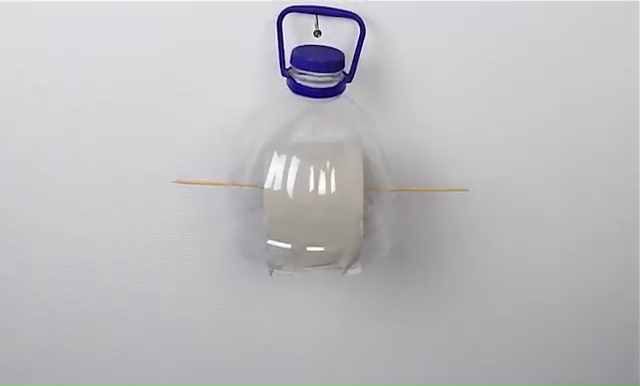
1. Toilet Paper Dispenser
You will need:
• 5L water bottle or just a big bottle enough for a full roll of toilet paper to fit in;
• a small stick
• a sharp knife
• a drill (If you don’t have a drill then you may need a candle/match lighter with a small iron rod)
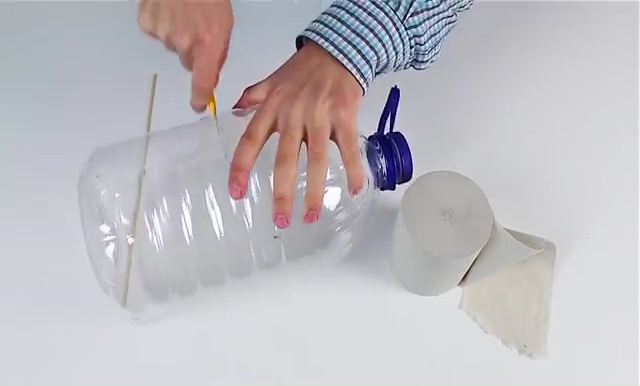
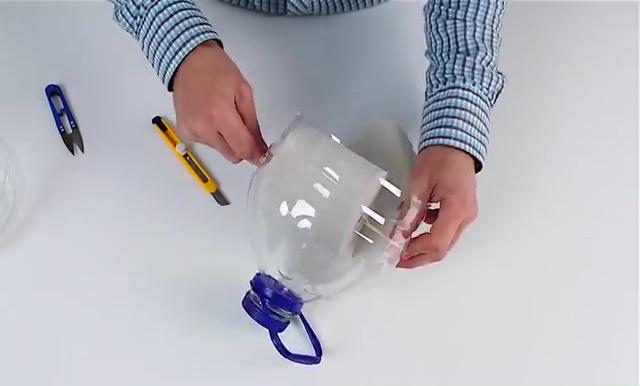
Cut the bottle in half, then drill or using the candle/match lighter heat the iron rod to create a hole in the sides of the container making sure the holes are in a straight line across each other. Also make sure the holes are just enough to fit the small stick through. Finally, push the stick quarter of the way through then fit the toilet paper through with the stick sliding through the toilet paper across all the way through to the other side of the container. Now all you have to do is find a suitable place to hang it!
2. Toothbrush and Toothpaste holder
You will need:
• three plastic bottle containers (one with a bigger top so it fits the toothpaste and the other two (depending on how many toothbrushes you want) for the toothbrushes
• 1L bottle container,
• a sharp knife/blade,
• a marker and
• super glue/hot glue gun
Cut out the top and the bottom of the 1L container, then cut out the tops of three other containers. Using the marker, trace out the bottom of these container tops onto the top part of the 1L bottle then cut them out. Now to the gluing part, place glue around the bottom part of the cut out 1L bottle, and fit it to its top part. Then glue the cut out bottle tops corresponding to their shape size. All you need to do now is place in your toothbrushes and the toothpaste!
You may personalise it with your own favourite colours for your own fun.
3. Book Organiser/Book Holder
You will need:
• A 1L detergent plastic container or any container wide enough for books to fit in,
• a marker,
• a sharp knife/blade.
All you do is trace out the shape seen on the picture below↓ on both sides of the container and using the blade cut out the shape.
You may wrap it up in a nice wrapping paper or you can paint it to give it more colour, then place in your books!
4. Piggy Bank
You will need:
• a 1L bottle,
• spray paint/paint/wrapping paper,
• sharp knife/blade,
• four bottle lids of the same size,
• super glue, and
• a marker.
Using the blade, make a small slit for the coins to fit in and then spray paint/paint the container. If you are using wrapping paper, make sure to cut out the slit to fit over the container. Next, glue the lids at the bottom of the container to form the legs then draw the eyes and the nose which should be on the containers lid. Once that is done, you may trace out ears on a paper/wrapping paper then glue it onto the piggy bank and you’re now ready to start dropping in coins!
5. Makeup Holder
For this you will need:
• at least 6 water bottles
• super glue
• blade/sharp knife/scissors
• craft glue
• glitter
• sticky tape
• a ruler and
• a marker.
With the ruler measure from the bottom of the bottle up, how deep you want your makeup holder to be and with the marker; do this with the rest of the other containers then cut them out. Then place the sticky tape around the bottles 1cm from the top. Place glue all over within the 1cm boundary and sprinkle glitter all over, when done, pull off the tape so the glitter lining looks neat. Almost done! Glue the first three bottles side by side, followed by another two on top of the first three then finally the last one; the idea here is to build a pyramid, and once it’s done, it is now ready for your make ups!
6. Garden Sprinkler:
You will need:
• a 1L bottle,
• rubber hose,
• duct tape (optional) and
• scissors/blade,
This usually works best with a plastic bottle that has a mouth and threads that are quite similar in size and form to that of the thread on your hose fitting. Once you have that right plastic bottle for the job all you need is to connect the hose to the bottle and you can secure them together using duct tape. Using your blade or scissors poke holes into the bottle. This can be done before or after you have joined your bottle to the hose. And there you have it your very own DIY sprinkle in just minutes.
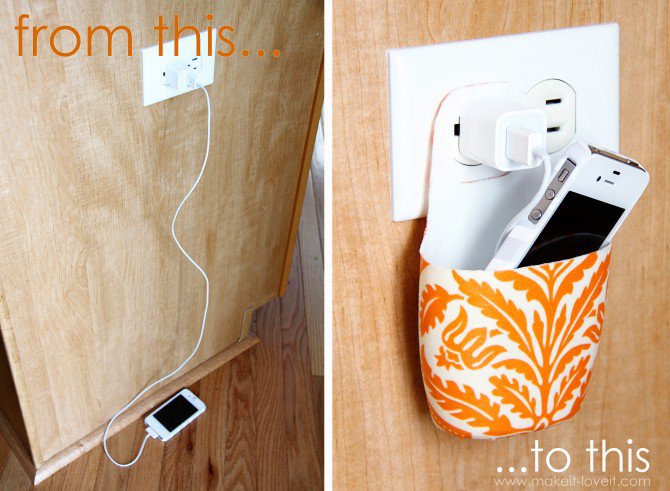
7. Phone Charging Holder
You will need:
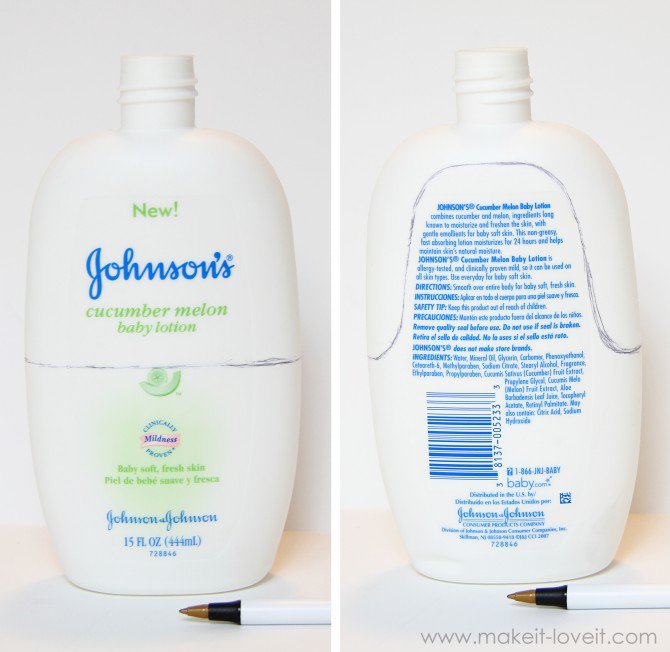
• a small Johnson’s baby lotion bottle or a small plastic container that may be wide enough to fit your phone,
• marker
• scissors
• blade/sharp knife
• sand paper
• glue and
• wrapping paper/material.
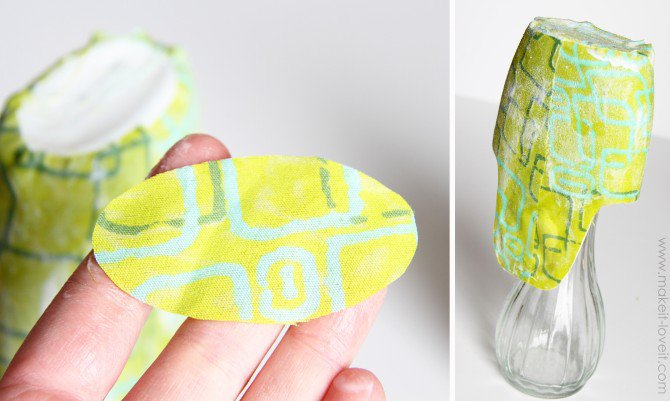
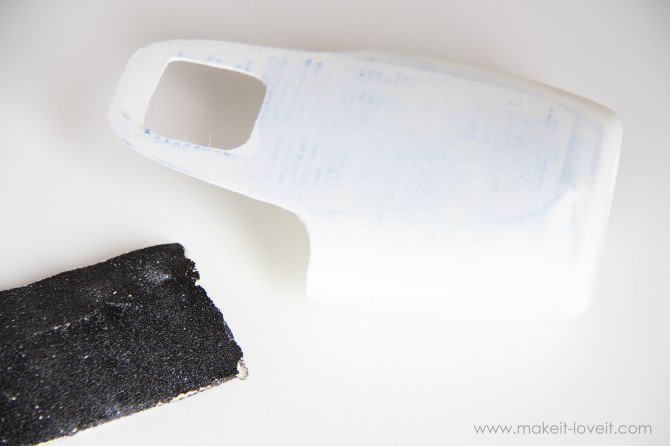
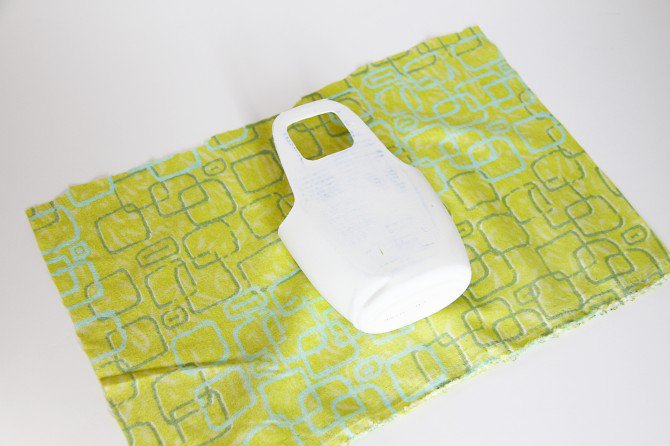
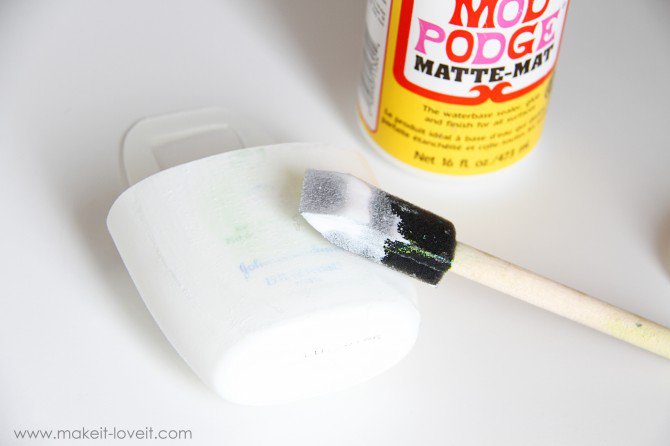
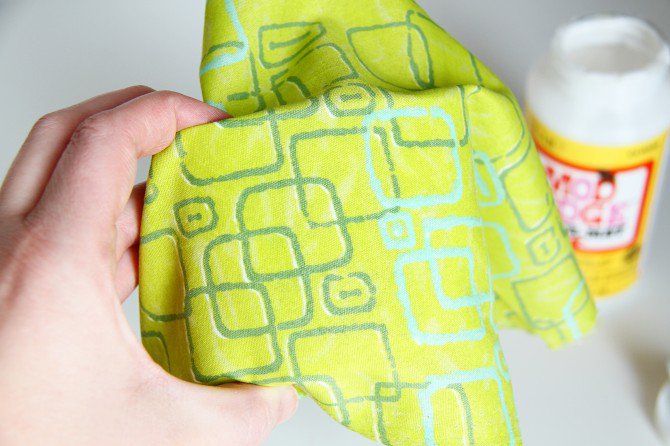
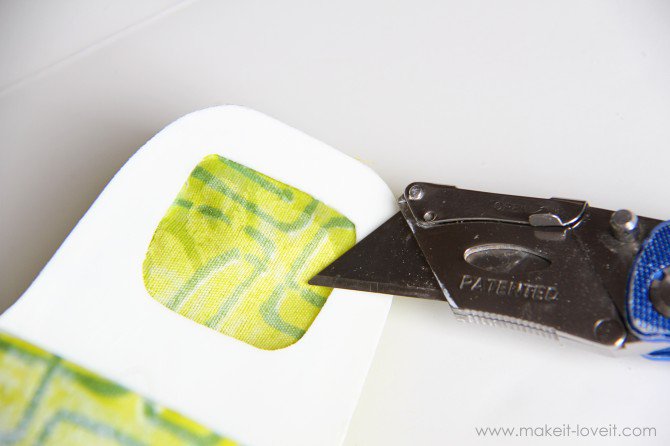
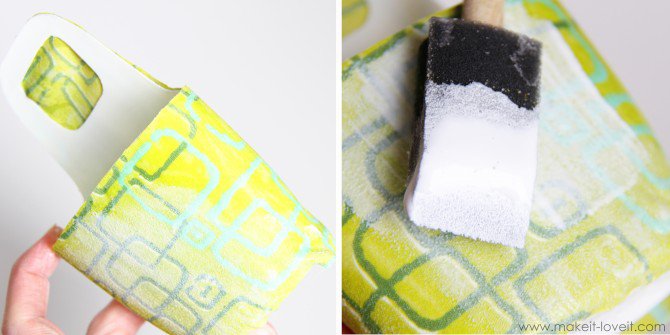
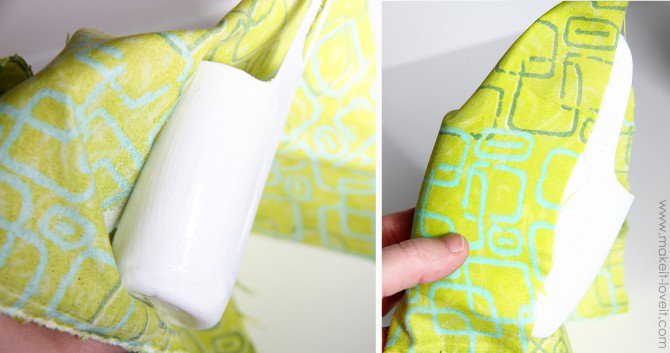
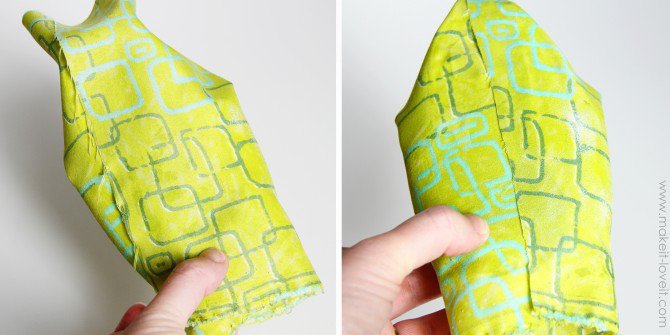
The first thing you do is trace out on the back and front of the bottle the pattern that is shown in the picture below (you may first want to size your phone against the bottle for your own preferences). After that cut out a square shape enough for your charger to fit through and using sand paper smoothen the edges. Place glue all over the bottle and start wrapping with your wrapping paper/material, don’t forget to cut out the square gap for the charger! Once the glue dries, use your blade to smooth out any rough edges from the material, and now you are done! Happy charging!
8. Pencil-case
You will need:
• a 500ml plastic bottle,
• blade
• hot glue gun and
• Zipper.
For this quick and easy DIY pencil-case you will need to cut you bottle in two halves. Once that is done use your hot glue gun to adhere one side of your zipper to one half of the freshly cut bottle. Glue the other zipper to the other half of the bottle. Once the glue dries place your pencils in one end of the bottle cover with the other half and zip both halves of the bottle together to close your pencil case.
9. Ottoman Seat
You will need:
• 4-6 2litre Plastic bottles,
• sticky tape,
• newspaper,
• hot glue gun,
• cardboard,
• sticky tape, and
• material.
Using your plastic bottles, stack them up right to form a square or rectangle, whichever shape you prefer. Using the sticky tape, secure all the bottles so that they are all tightly packed together. Fill in the spaces at the top and bottom of the stack with newspaper so that both the ends are levelled. Use cardboard to cover the stacked bottles and secure with sticky tape. Cover the whole thing with material you like. And there you have it an ottoman made easy.
10. Mini Kitchen Storage Containers
Finally! The tenth thing you can do with plastic bottles out of the many hundreds of things – a mini kitchen storage container. Must I add, this is the easiest thing to do!
All you need are:
• two plastic bottles (each one of a different size)
• a sharp knife/blade.
Using the bigger container (which will be the base) cut out the top depending on how deep you want the container to be, and do the same to the smaller container as well, whose end part will become the top part of the container – then you fit the two together and there you have a mini storage container great for storing rice, beans, pasta, noodles, sugar, etc…
